
Improving your photos Tip #1
Tip overview: Image Adjust -> Brightness and Contrast -> Levels or Autolevels.
For the first photo tip, I wanted to talk about something that in my opinion is absolutely required for all digital photographs. It doesn’t matter if you take the photo with an expensive DSLR camera, a reasonably priced point and shoot, or your cell phone.
Digital optics can ‘see’ light that the human eye naturally filters out, and even when a subject is absolutely correctly composed and the settings are perfectly adjusted, there is going to be a very slight haze across the entire image. In some images it is more apparent than other images, but it can be easily removed by the following steps.
Open image in your photo editing software. Your goal is to look for where your software has this term “Levels” or “autolevels” in some software it can be found in the category “adjustment” and/or “Brightness and contrast”.
The autolevels will nicely adjust the highlights and shadows to make the image more rich in 95% of images. If the photo was taken in very bright light or in a lot of darkness, you will likely have to manually adjust the sliders. There will be 3 sliders, one for shadow, midtones and highlights. To manually adjust, typically you will slide the shadow a little to the right and the highlight slider a little to the left, and then tweak the midtone until it suits you, but you only have to do this in <5% of the photos.
Below you can see an example of the Before and after.
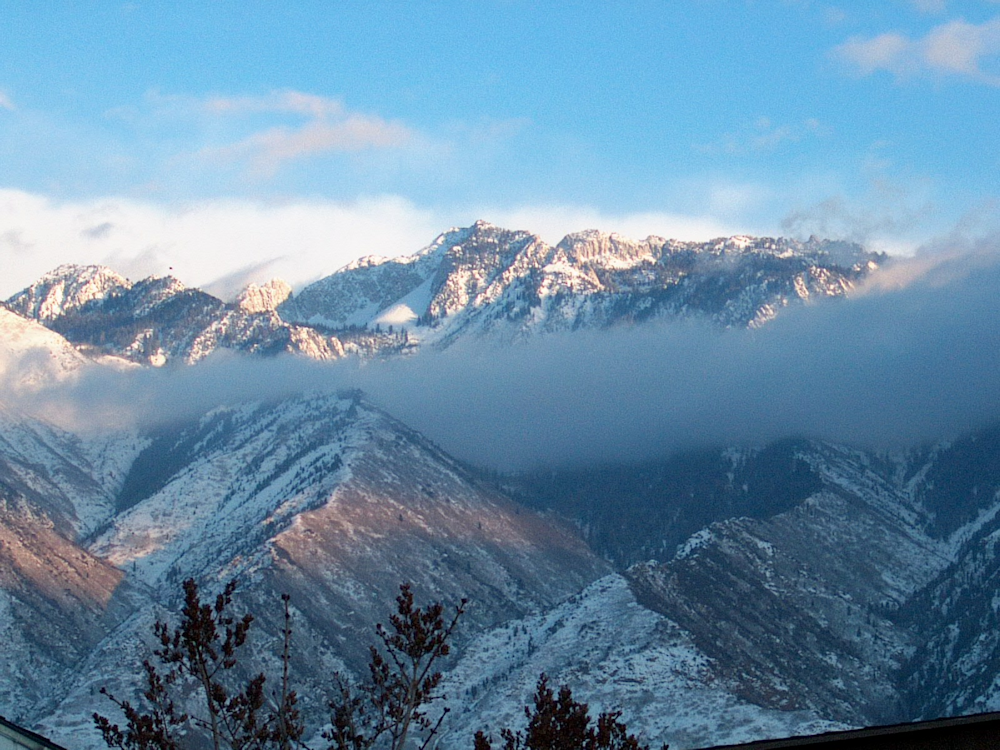
Photo 1 before applying levels
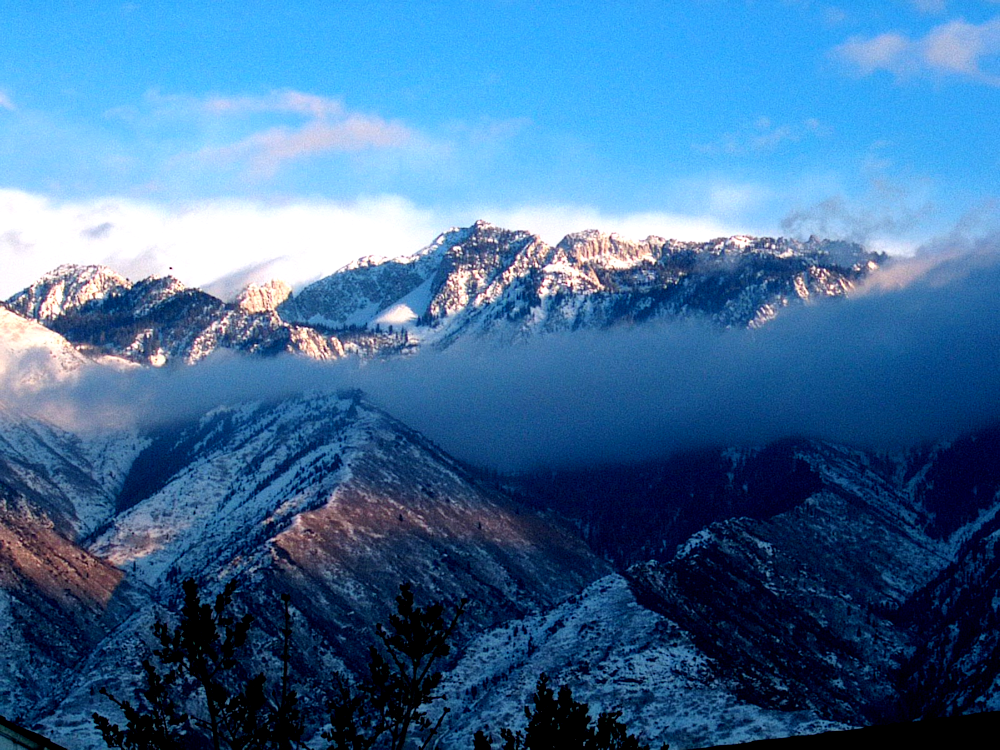
Photo 1 after applying levels
I hope I it helps!